How to Choose the Right Compact Excavator for Your Next Job?
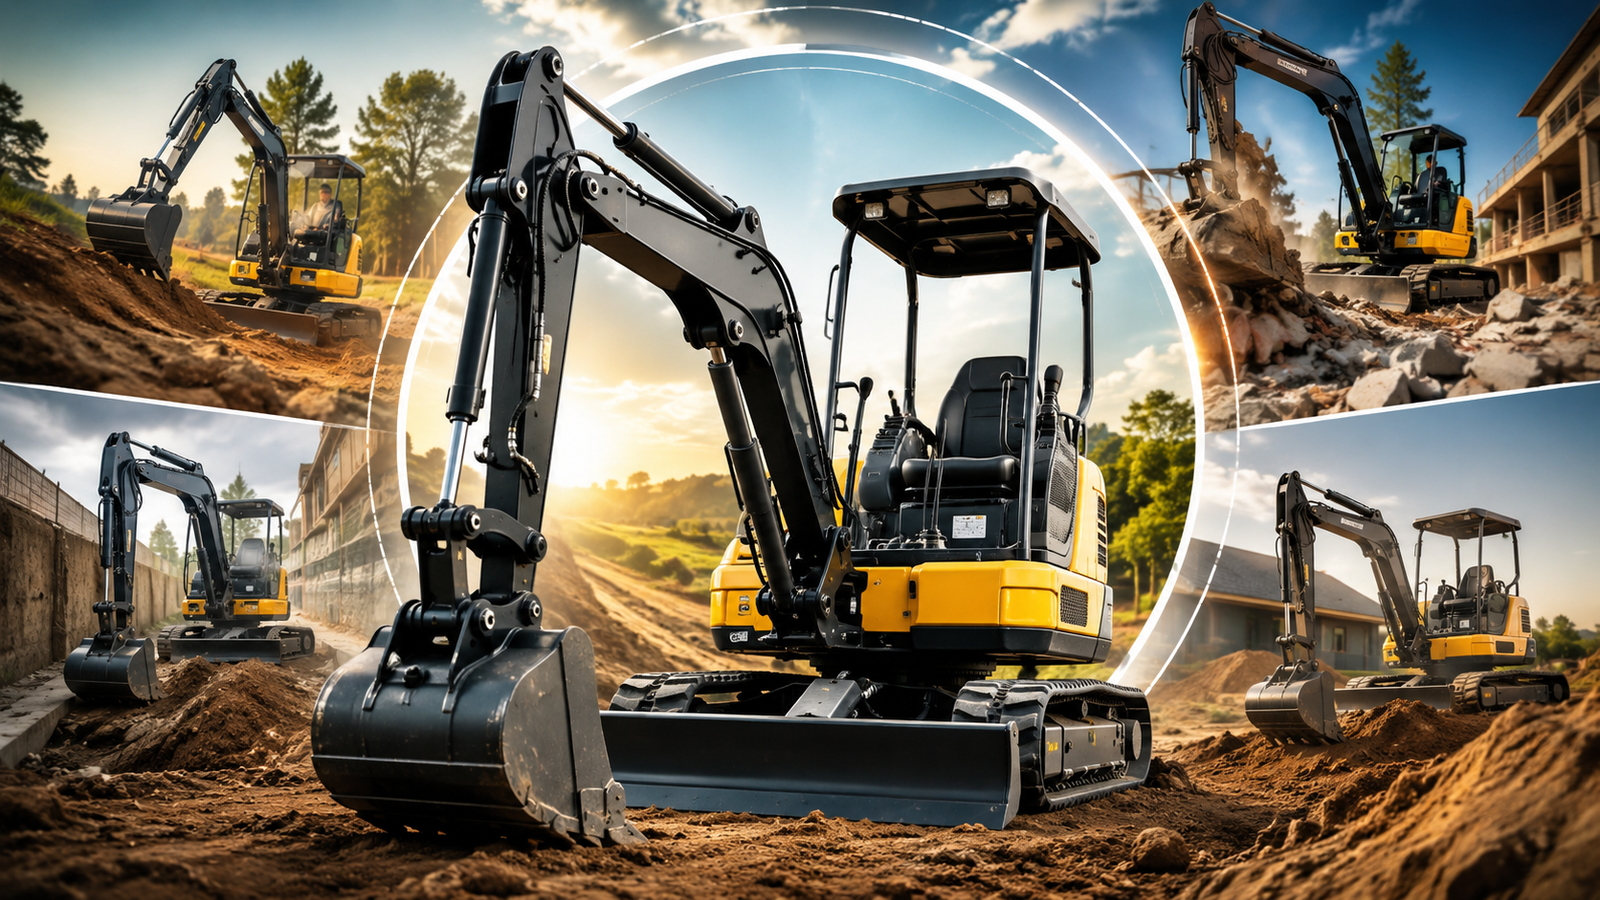
The right equipment may make or break your schedule, bottom line and overall construction performance on a new project site. With its footprint-to-power ratio, a high-performing compact excavator is no longer only a luxury utility; it’s the backbone of contemporary building, home landscaping and municipal engineering.
But if you don’t have a clear plan for entering an equipment purchase cycle, you might end up with expensive operational mismatches. Choose a machine that’s too light and you risk project delays and structural strain.
Choose one too heavy and you’ll ruin lawns, blow through fuel budgets and battle with tight physical restrictions. This complete guide will show you exactly how to evaluate, match and deploy the appropriate small excavator for your particular construction demands.
The first guideline when you start your evaluation is to ignore the shiny chassis and get down to the nuts and bolts of your unique project site limits and space limitations. Each project has its own ecology that defines the structural envelope your equipment has to cross.
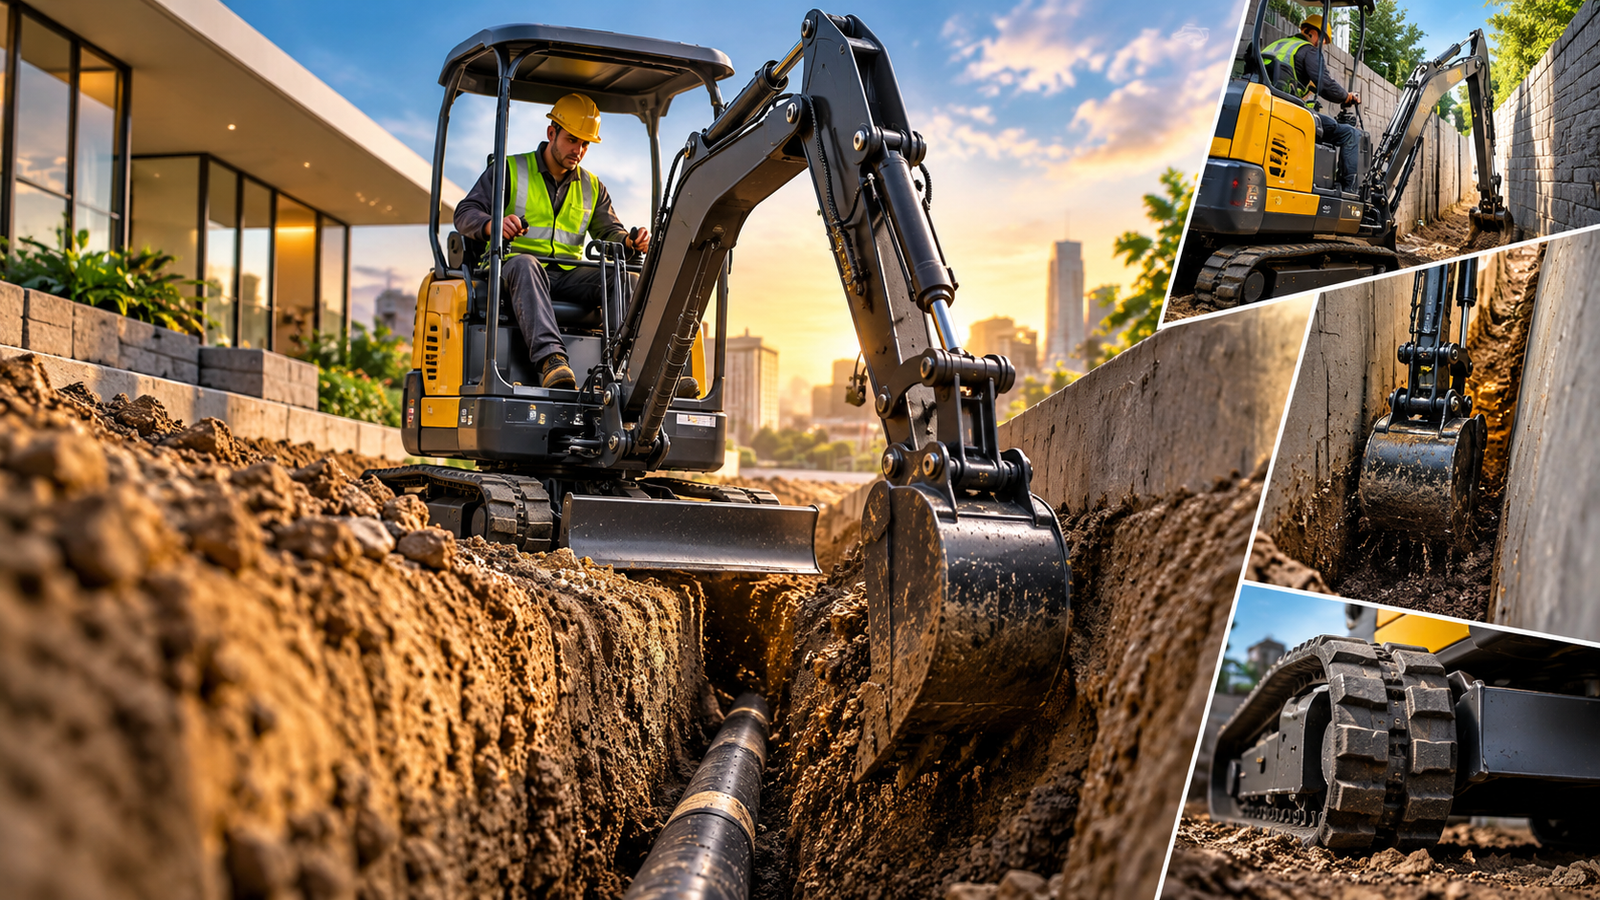
For example, urban utility repairs or residential backyard installations naturally reduce the available space for movement, requiring a nimble compact excavator with tight tail swing configurations and precise, low-tonnage performance to sneak through narrow standard garden gates or between closely set commercial structures.
On the other hand, open space agricultural trenching or rural drainage installations allow you to bring out a larger, heavier track width for maximum leverage. Setting your boundary boundaries early on protects your project site from catastrophic property damage as well as protecting your operators from tight corners where they can’t swing the boom.
Best Ways to Choose the Right Compact Excavator for Your Next Job
1. Understand Project Scope and Job Site Restrictions
Before you start looking at equipment brochures you need to do a full spatial audit of where the equipment is going to physically sit and turn. For maneuvering in tight quarters like residential subdivisions, small alleys or groomed park settings, you want a machine that values agile handling above raw, unfettered weight. The working scale’s alignment with the surroundings avoids inadvertent structural collateral damage, and provides smooth material handling without the need for continual repositioning.
- Physical Width and Entryway Clearance: Always measure the narrowest checkpoint on your site, such as fence openings, structural pillars, or property borders, to verify your compact excavator can enter without structural changes.
- Tail Swing Configuration: Decide whether your area requires a zero tail swing configuration, where the counterweight swings completely inside the track width so as not to impact walls, automobiles or other objects nearby.
- Surface Material: Your surface material is a big factor in your choice of non-marking rubber tracks or high-traction steel rails. Consider whether your location is soft grass, asphalt, concrete, or deep muck.
2. Verify Basic Machine Specs and Weights
Knowing the quantitative characteristics of how equipment performs helps you avoid underpowering your business or over capitalizing. It’s a technical trinity of operating weight, digging capacity, and structural restrictions that define what your team can feasibly achieve during a shift. So you balance these three interrelated criteria . This helps you get the most work done in a day and also helps you prevent early weariness of your equipment.
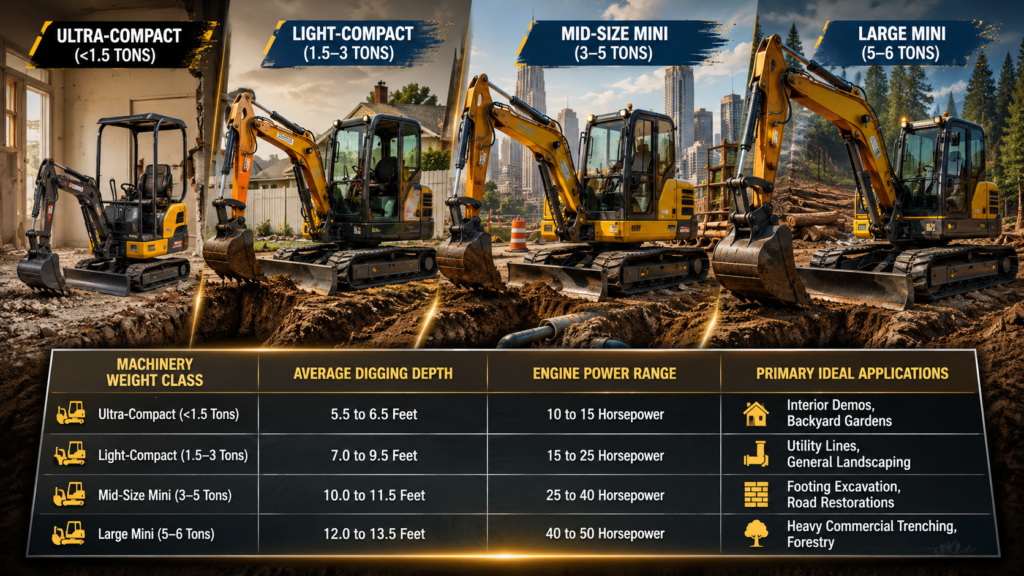
Table: Compact Excavator Weight Class Applications
Here is the data formatted into a clean, easy-to-read Markdown table:
| Machinery Weight Class | Average Digging Depth | Engine Power Range | Primary Ideal Applications |
| Ultra-Compact (<1.5 Tons) | 5.5 to 6.5 Feet | 10 to 15 Horsepower | Interior Demos, Backyard Gardens |
| Light-Compact (1.5–3 Tons) | 7.0 to 9.5 Feet | 15 to 25 Horsepower | Utility Lines, General Landscaping |
| Mid-Size Mini (3–5 Tons) | 10.0 to 11.5 Feet | 25 to 40 Horsepower | Footing Excavation, Road Restorations |
| Large Mini (5–6 Tons) | 12.0 to 13.5 Feet | 40 to 50 Horsepower | Heavy Commercial Trenching, Forestry |
- Operating Weight Thresholds: Choose a compact excavator in a tonnage class that matches the hauling capability of your support vehicles, so you may legally move the machine with your present trailers and trucks.
- Max Digging Depth: Know how deep you need to dig for utility line drop-ins or foundations, then add at least a one-foot operating safety margin to allow the boom to operate comfortably.
- Dump Height and Reach: Plan the height of your dump trucks or soil containment bins such that the excavator’s fully extended bucket path may easily clear the sidewalls while material is being removed.
3. Test engine performance and hydraulic capacity
The real heart beat of your earthmover is in its power train efficiency and auxilliary oil circuit engineering. The raw engine horsepower gives you the travel torque and the structural gradeability, but the auxiliary hydraulic system is what takes that mechanical force and makes it operate. Low hydraulic flow rates in your compact excavator mean slow cycle times and it immediately impacts your daily operating efficiency.
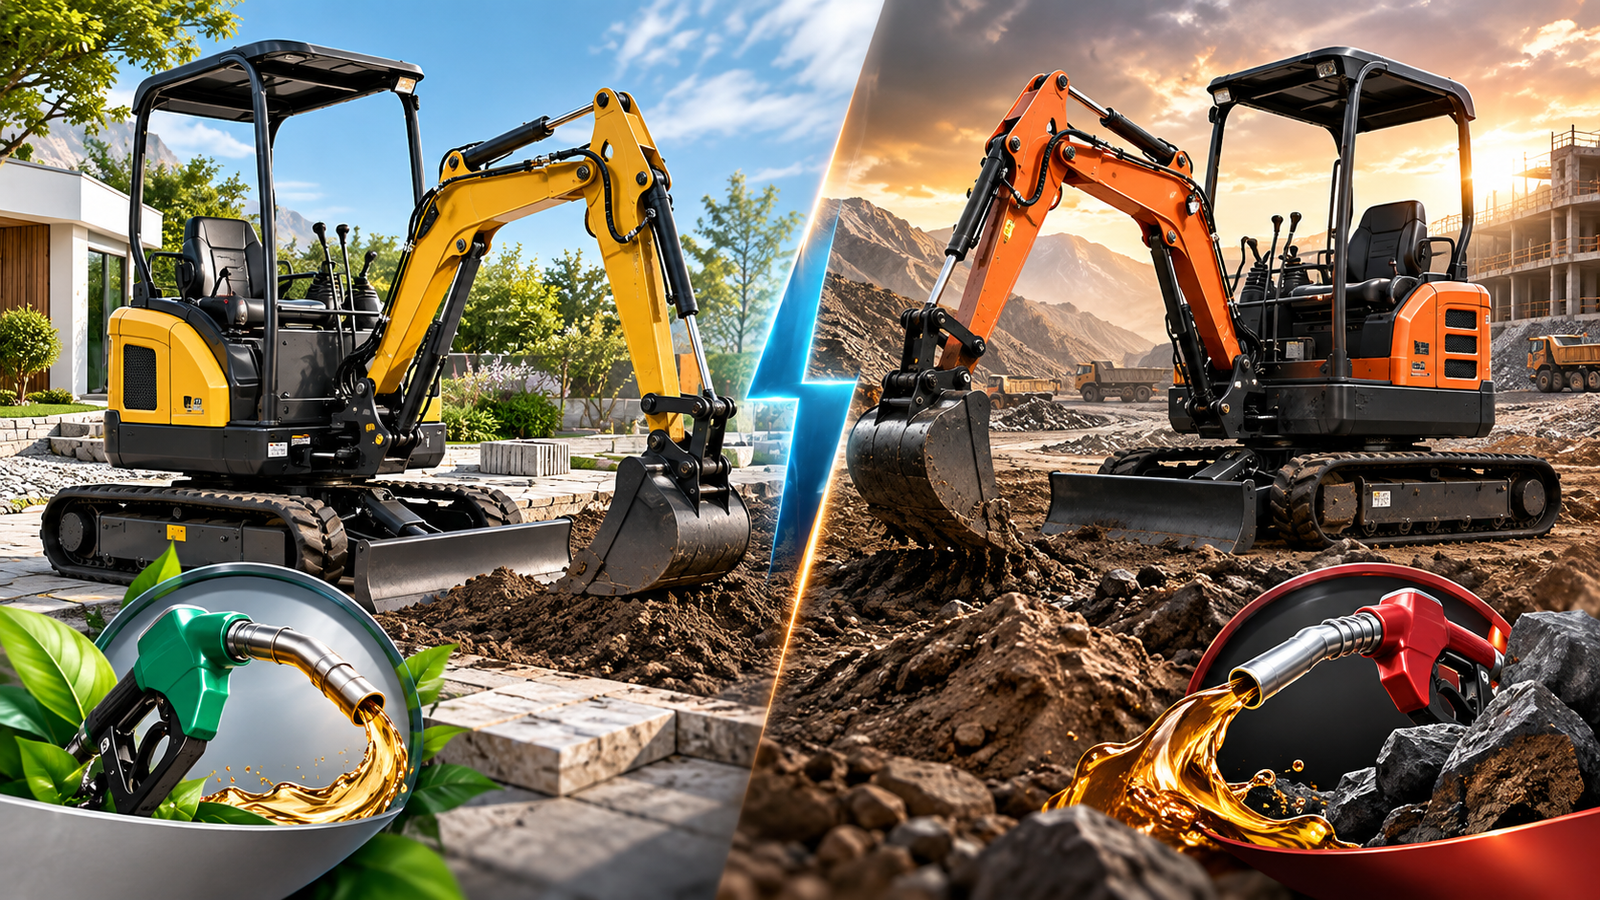
- Powertrain Reliability: Look for EPA-compliant, internationally proven diesel designs such as Kubota or Yanmar engines that provide consistent fuel efficiency and good performance under load.
- Auxiliary Hydraulic Flow Rate (GPM): Make sure that your compact excavator auxiliary continuous hydraulic circuit provides enough gallons per minute to power heavy-duty cycle tools like rock breakers, post hole augers or dense brush cutters.
- Control System Response: Look for sophisticated hydraulic pilot joystick control configurations that provide smooth, proportionate multi-function movement, substantially reducing operator fatigue over extended shifts.
4. Attachment Flexibility for Efficiency Improvement
Modern excavating activities need multi-functional skills, and a single power unit becomes a Swiss Army knife on rails. If all you have is a conventional digging bucket, your market competitiveness and project applicability are quite limited. A compact excavator that has quick-coupler integration and high auxiliary flexibility provides a huge range of specialized employment options with the same capital investment.
- Quick-Hitch Systems: Buy hydraulic or mechanical quick-attach hitches that enable your ground team to change out several excavator attachments in minutes without leaving the safety of the working platform.
- Integration of a Hydraulic Thumb: Always go with factory-installed hydraulic thumb clips, which offer the necessary gripping power required to grasp, sort and load irregular debris, boulders or destroyed concrete remnants.
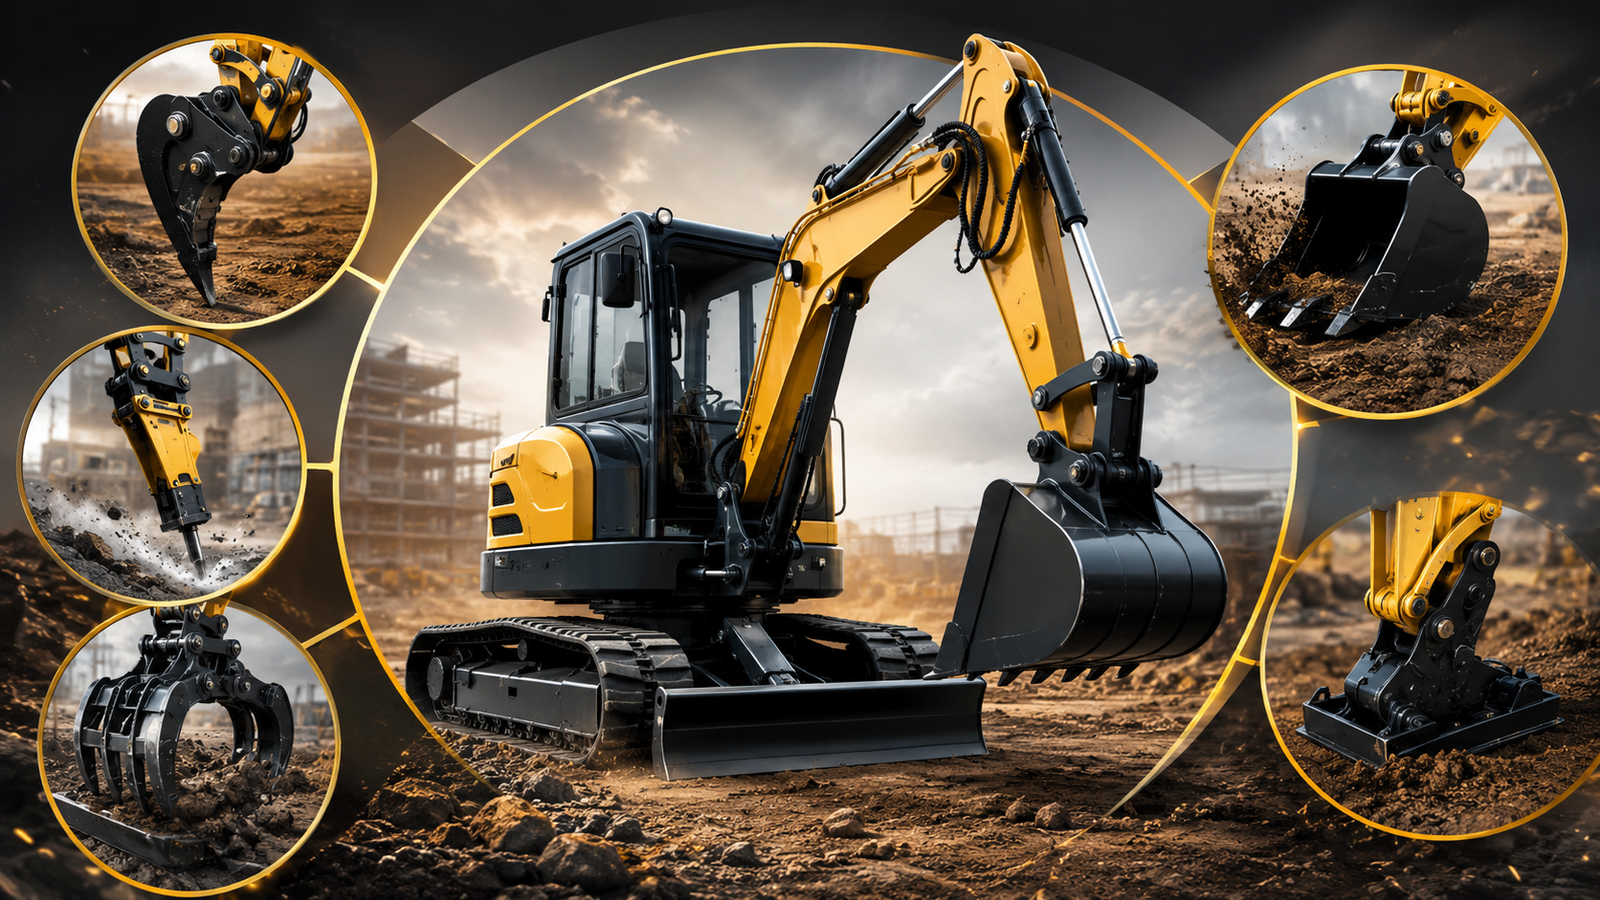
- Specialized Attachment Arrays: Build a working tool inventory including concrete rock breakers, earth drills, leveling buckets, and screening buckets to provide seamless transitions between different project stages.
5. Operator Comfort and Working Environment First
A fatigued and uncomfortable machine operator is a safety liability by nature, working slower and more likely to make accuracy mistakes on sensitive areas. Don’t sacrifice cab ergonomics, visibility corridors or integrated safety measures while estimating your return on investment. By giving your compact excavator operator a secured, climate-controlled work room, you are immediately protecting your high-value equipment assets and maximizing attention throughout the day.
- Structural Protective Cages: Make sure each unit is equipped with certified Tip-Over Protective Structures (TOPS) and Falling Object Protective Structures (FOPS) to safeguard your workers from overhead and unstable terrain threats.
- Enclosed Cabin with Heating and Air Conditioning: If your project involves working in extreme summer heat, torrential tropical rains, or freezing winter conditions, consider a completely enclosed cab with strong air conditioning and heating.
- All-Around Visibility Corridors: Assess sight lines from the operator’s position to reduce blind spots above the rails and provide an unobstructed view of the whole boom articulation route.
6. Assess Long-Term Supportability and Asset Maintenance
The initial price of an earthmover is just a small percentage of its actual lifetime cost. Long-term profitability relies on serviceability and parts availability. If you choose a small excavator with less than conveniently located service ports, or one with hard-to-get replacement parts, you will have more downtime when scheduled maintenance is due. Find heavy equipment designed so your technicians can get to it quickly for daily maintenance and check critical parts in minutes.
- Ground-Level Service Access: Ensure the major rear hood and side access panels open enough to provide easy access to the oil filters, gasoline separators, radiator screens and battery banks.
- Component Longevity and Bushings: Inspect the major boom joints and swing pins for strong, greaseable bushings that can resist extreme torsional stress for thousands of hours.
- Warranty Backing and Dealer Support: Ensure that your equipment provider has a full warranty program and timely customer assistance to rapidly fix any unforeseen operating difficulties.
Frequently Asked Questions – Compact Excavators
How big of a compact excavator do I need for a residential project?
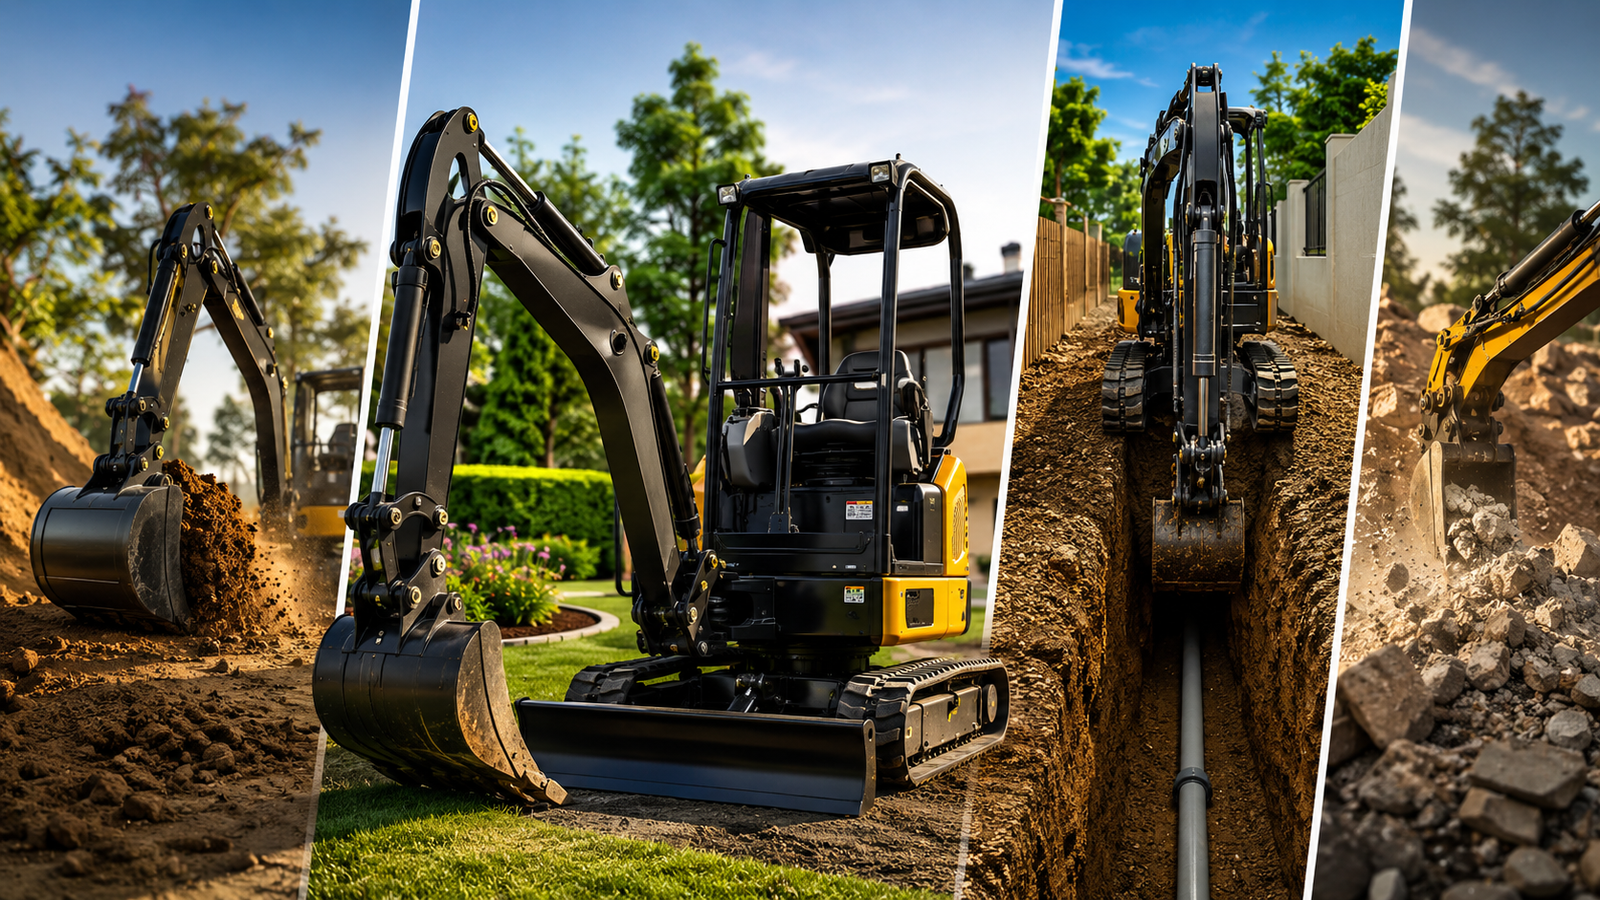
For general home use, such as landscaping the backyard, trenching utilities, or erecting retaining walls, a light compact excavator in the range of 1.5 to 2.7 tons is highly suggested. These units are a nice compromise between short widths (typically under 50 inches) to fit through regular gates and a good digging depth of 7 to 9 feet without ripping up established lawns.
How much weight can a 2 ton compact excavator lift?
Normally a conventional 2 ton compact excavator can lift between 1,000 to 1,500 pounds over the front of the machine when the load is near to the ground and the tracks are steady. But when lifting over the side or with the boom completely extended the lifting capability diminishes considerably. Always refer to the exact lift chart, posted within the cab, for the manufacturer, before performing any big lifts.
What’s the difference between zero tail swing and traditional tail swing?
Zero tail swing machines are designed to have the housing and counterweight swing totally inside the width of the rails, so the rear of the machine won’t contact any impediments while turning. Conventional tail swing designs use a counterweight that extends out several inches farther than the rails for better leverage and greater lifting capabilities, but necessitate a bigger work area envelope.
Mini excavator steel tracks vs rubber tracks?
Rubber tracks are a great choice for working in urban areas, home landscaping or on existing surfaces like asphalt, concrete or lawns since they produce little ground disturbance and run silently. Steel tracks are better suitable for tough, rough terrain, demolition sites and thick mud where high grip, puncture resistance and component longevity are needed.
Can you install a concrete breaker or auger to any compact excavator?
Most current machines can operate these excavator attachments as long as the unit has auxiliary hydraulic lines and the attachment’s needed flow rate (GPM) matches the output of the hydraulic pump. You need to make sure that the auxiliary system of your machine is capable of providing the precise hydraulic pressure that the tool maker requires. If not, the system might operate poorly or overheat.
How deep does a mid-sized compact excavator go?
A mid-sized compact excavator in the 3- to 5-ton class may easily attain a maximum digging depth of 10 to 11.5 feet. For deeper trenching of significant sewage mains or commercial foundations, you’ll want to look at the 5 to 6-ton large class or having a stepped trenching approach on-site.
What engine service do you need to do to avoid work site breakdowns?
To enhance machine uptime, operators should do daily pre-start checks checking engine oil levels, hydraulic fluid levels, and cooling radiator screens for particle accumulation. Routinely remove fuel filters and water separators and lubricate the whole main boom, arm and bucket pivot points every 8 to 10 running hours to avoid wear due to friction.